
How to Create and Apply a Custom Decal for Your Ghost Driver Car: Step-by-Step Guide
Learn how to easily create and apply a custom decal in Ghost Driver for Roblox. Follow our guide to personalize your vehicle with unique designs today.
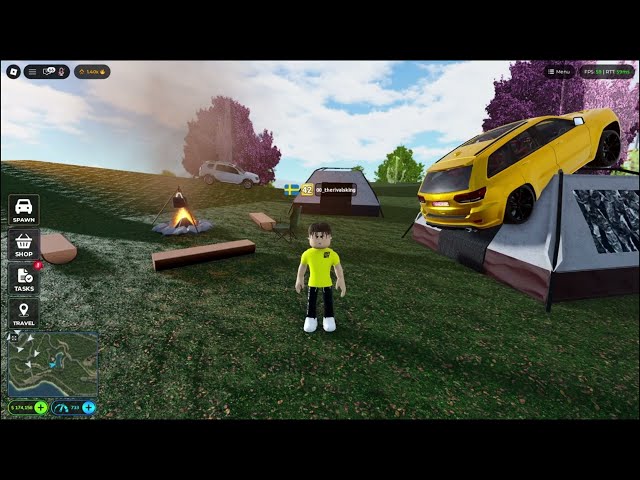 Community gameplayLearn how to easily create and apply a custom decal in Ghost Driver for Roblox. Follow our guide to personalize your vehicle with unique designs today.YouTube
 Personalize Your Ride: The Ultimate Guide to Ghost Driver Customization
If you are looking to stand out on the highway in the hit Roblox experience, learning how to add a ghost driver custom decal is the best way to flex your style. Customizing your vehicle allows you to express your personality, turning a standard car into a one-of-a-kind masterpiece that reflects your unique taste. Whether you want to show off your custom Roblox character or a sleek logo, knowing how to implement a ghost driver custom decal effectively will elevate your gameplay and make your car the envy of the server.
Why Custom Decals Matter in Ghost Driver
In a game as visually driven and competitive as Ghost Driver, aesthetics are just as important as your engine tune. Players spend hours perfecting their handling and top speeds, but without a signature look, you are just another car in the traffic. Adding a unique graphic to your windows or body panels helps you build a reputation within the community.
| Benefit | Impact on Gameplay |
|---|---|
| Brand Identity | Makes your car recognizable during intense highway runs. |
| Aesthetic Appeal | Enhances the overall visual quality of your vehicle. |
| Social Status | Shows other players you know how to navigate the customization menus. |
| Creativity | Allows for endless experimentation with colors and logos. |
Preparing Your Custom Assets
Before you can show off your style, you need a high-quality image. Community reports suggest that using AI tools like ChatGPT or image editors is the most efficient way to generate clean, transparent graphics.
When creating your image, keep these technical requirements in mind:
- Transparency: Always save your file as a PNG with a transparent background to ensure it looks professional on your car windows.
- Dimensions: Avoid overly large files; a standard square or rectangular aspect ratio works best for most vehicle models.
- Centering: Ensure your logo or character is centered, as off-center images can look distorted once applied to the curved glass of a vehicle.
Step-by-Step: Uploading Your Decal to Roblox
Once you have your image file ready, you need to bring it into the Roblox ecosystem. This process is straightforward, but it is essential to follow the correct path to ensure the asset is registered properly.
- Navigate to the Roblox Create Dashboard to manage your assets.
- Select the "Creations" tab and locate the "Development Items" section.
- Click on the "Decals" category.
- Upload your saved PNG file and give it a clear, memorable name.
- After the upload finishes, open the asset page and click the three dots icon to copy the unique Asset ID.
Applying Your Decal in-Game
Now that you have your Asset ID, it is time to head back into the game. The customization UI in Ghost Driver is intuitive, but knowing exactly where to go saves you time during your build sessions.
| Step | Location | Action |
|---|---|---|
| 1 | Garage/Modification Tab | Enter your vehicle's edit menu. |
| 2 | Cosmetics Menu | Select the "Cosmetics" sub-menu. |
| 3 | Window Decals | Navigate to the "Window Decals" section. |
| 4 | Input ID | Paste your copied Asset ID into the text box. |
If you find that your decal is too large or slightly off-center, don't worry. You can simply go back to your image source, resize the graphic, and re-upload it. Many players find that a little trial and error is required to get the perfect fit for specific car models.
Expert Tips for Better Customization
Based on community feedback and popular creator tutorials, here are some pro tips to help you master the process.
- Test on Multiple Cars: Not every decal looks good on every window shape. Try your design on a few different vehicles to see how it scales.
- Keep it Simple: Complex, high-detail images often lose clarity when compressed into a decal. Stick to bold, clean lines for the best results.
- Join the Community: Keep an eye on community discords or TikTok trends for "Best Window Decal IDs." Sharing IDs is a common practice that helps new players find cool designs without starting from scratch.
Troubleshooting Common Issues
Even with the best preparation, you might run into a few snags. Here is a quick troubleshooting table to help you resolve common issues.
| Issue | Potential Cause | Solution |
|---|---|---|
| Decal not appearing | Incorrect Asset ID | Double-check that you copied the Asset ID, not the page URL. |
| Blurry image | Low resolution | Use a higher-quality source image (at least 512x512 pixels). |
| Background visible | Not transparent | Ensure you saved the image as a PNG with alpha channel enabled. |
| Distorted sizing | Aspect ratio mismatch | Edit the image to be more square or adjust the game's scale settings. |
Frequently Asked Questions (FAQ)
Q: Can I use any image as a ghost driver custom decal? A: You must ensure that your image adheres to Roblox's Terms of Service. Avoid copyrighted material or inappropriate content, or your account may face moderation actions.
Q: Does it cost Robux to upload a decal? A: Currently, uploading decals to your inventory is generally free, but keep in mind that Roblox platform policies can change, so always check the official Roblox Help Center for the latest information on asset creation.
Q: How do I find cool decals if I don't want to make my own? A: Many players share their favorite codes on platforms like TikTok and YouTube. Simply search for "Ghost Driver Decal IDs" to find community-curated designs that you can plug directly into your car.
Q: Can I put a decal anywhere on the car? A: In Ghost Driver, decals are specifically designed for the window areas. Ensure you are in the correct "Window Decals" modification tab to apply them successfully.
Related Guides
Best Ghost Driver Radio IDs: Customize Your Roblox Ride with the Ultimate Music Codes
Cruising in Roblox Ghost Driver? Check out our ultimate list of Ghost Driver radio IDs, working codes, and expert customization tips to level up fast.
Ghost Driver How to Put Decals: A Step-by-Step Guide to Customizing Your Ride
Learn how to put decals in Ghost Driver on Roblox. Follow our simple, step-by-step guide to creating and applying custom graphics to your dream car.
How to Create and Apply Custom Ghost Driver Decals: The Ultimate Roblox Customization Guide
Learn how to create, upload, and apply custom ghost driver decals to your favorite vehicles in Roblox. Follow our step-by-step guide to styling your ride.
How to Use Ghost Driver Window Decal Codes to Fully Customize Your Roblox Ride
Master vehicle customization with our guide to Ghost Driver window decal codes. Learn how to create, upload, and apply custom stickers to your car today.