
How to Create and Apply Custom Ghost Driver Decals: The Ultimate Roblox Customization Guide
Learn how to create, upload, and apply custom ghost driver decals to your favorite vehicles in Roblox. Follow our step-by-step guide to styling your ride.
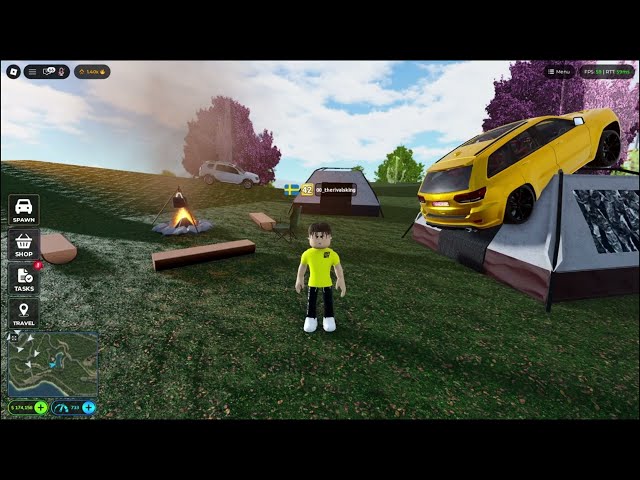 Community gameplayLearn how to create, upload, and apply custom ghost driver decals to your favorite vehicles in Roblox. Follow our step-by-step guide to styling your ride.YouTube
 Personalizing Your Ride in Ghost Driver
Every serious racer knows that standing out on the highway is just as important as having a high-performance engine. If you want your vehicle to truly reflect your personality, mastering ghost driver decals is the most effective way to achieve a unique look. By learning how to implement your own custom ghost driver decals, you can transform a standard build into a one-of-a-kind masterpiece that captures attention during every cruise.
Customization is the heart of the Roblox car community, and Ghost Driver offers a robust system for players to express themselves. Whether you are looking to add a personal logo, a favorite meme, or a sleek aesthetic design to your windows, the process is straightforward once you know the workflow. This guide will walk you through everything you need to know to get your car looking exactly how you want it.
The Technical Workflow for Custom Decals
To get started, you need to understand the bridge between external creative tools and the game engine. Because Roblox allows for user-generated assets, you are essentially acting as your own graphic designer.
Step-by-Step Creation Process
| Step | Action | Details |
|---|---|---|
| 1 | Asset Generation | Use an AI tool or image editor to create your design. |
| 2 | Background Removal | Ensure your image has a transparent background for a clean look. |
| 3 | Roblox Upload | Navigate to the "Create" tab on the Roblox website. |
| 4 | Asset ID Retrieval | Copy the unique ID generated after your upload. |
| 5 | In-Game Application | Paste the ID into the vehicle modification menu. |
Community reports suggest that using AI-generated imagery is the fastest way to get high-quality results. By asking an AI assistant to generate a "vehicle decal with a transparent background," you save significant time on manual editing.
Best Practices for Image Optimization
Not all images work well as decals. According to player experience, the dimensions and clarity of your file play a massive role in how the final product appears on your windshield. If an image is too large, it may become pixelated or, worse, off-center when applied to your car’s geometry.
Optimization Checklist
- Transparency: Always save as a PNG to keep background transparency.
- Aspect Ratio: Aim for a square or rectangular format that fits standard window shapes.
- Sizing: If your decal looks off-center, re-generate it with a smaller scale or adjust the padding.
- Simplicity: High-contrast, bold designs show up better on tinted glass than overly complex photos.
Navigating the Roblox Development Portal
Once you have your image file ready, you need to bring it into the Roblox ecosystem. While the interface can look intimidating, it is a standard workflow for any creator.
- Log in to the Roblox Creator Dashboard.
- Navigate to the "Creations" tab on the left sidebar.
- Select "Development Items" and then click the "Decals" sub-tab.
- Upload your image file, give it a clear name, and wait for the approval process.
- Once approved, click the three dots on the asset to copy the ID.
Applying Decals In-Game
After you have successfully copied your Asset ID, the rest of the work happens inside the game. Jump into your vehicle and open the "Modification" menu. From there, navigate to the "Cosmetics" section and select "Window Decals." Paste your ID into the text box, and your custom graphic should appear instantly.
Common Troubleshooting Issues
| Issue | Potential Cause | Solution |
|---|---|---|
| Decal not showing | Incorrect Asset ID | Double-check that you copied the ID, not the page URL. |
| Image is blurry | Low resolution | Use a higher DPI source image (at least 512x512). |
| Off-center placement | Scaling error | Use a tool to center the design within a transparent canvas. |
| Asset rejected | Violation of policy | Ensure your image follows Roblox community standards. |
Community Trends and Styling Tips
The community is constantly pushing the boundaries of what is possible with vehicle aesthetics. Many players are now moving toward minimalist logos or "drift-style" branding that mimics real-world tuner culture.
If you are looking for inspiration, many creators share their favorite IDs on platforms like TikTok or YouTube under the #ghostdriver tag. However, always be cautious when using IDs provided by others, as these assets can be deleted or moderated by Roblox at any time. Creating your own unique set of ghost driver decals ensures that your car remains truly yours and won't suddenly lose its look due to an asset takedown.
Frequently Asked Questions
Can I use any image for my ghost driver decals?
While you can upload most images, they must comply with Roblox's Community Standards. Avoid copyrighted material or inappropriate content, as these will be rejected by the moderation system.
Why does my decal look stretched on my window?
This usually happens because the aspect ratio of your uploaded image doesn't match the aspect ratio of the window surface in the game. Try cropping your image to be more rectangular or square to better match the window's shape.
Is there a cost to upload custom decals?
Roblox occasionally charges a small fee in Robux for uploading assets to the marketplace. Always ensure you have a small balance in your account before attempting to upload your custom designs.
Can I use these decals on any car in the game?
Yes, once you have the Asset ID, you can apply it to any vehicle that supports the window decal modification feature. This allows you to maintain a consistent "brand" across your entire garage.
Related Guides
Best Ghost Driver Radio IDs: Customize Your Roblox Ride with the Ultimate Music Codes
Cruising in Roblox Ghost Driver? Check out our ultimate list of Ghost Driver radio IDs, working codes, and expert customization tips to level up fast.
Ghost Driver How to Put Decals: A Step-by-Step Guide to Customizing Your Ride
Learn how to put decals in Ghost Driver on Roblox. Follow our simple, step-by-step guide to creating and applying custom graphics to your dream car.
How to Create and Apply a Custom Decal for Your Ghost Driver Car: Step-by-Step Guide
Learn how to easily create and apply a custom decal in Ghost Driver for Roblox. Follow our guide to personalize your vehicle with unique designs today.
How to Use Ghost Driver Window Decal Codes to Fully Customize Your Roblox Ride
Master vehicle customization with our guide to Ghost Driver window decal codes. Learn how to create, upload, and apply custom stickers to your car today.